Building A Vintage Racer
“It is widely agreed upon that a smart person does not build a dedicated track car from the ground up. Instead, one should simply buy one that has already had all the hard work done.” -Ghandi
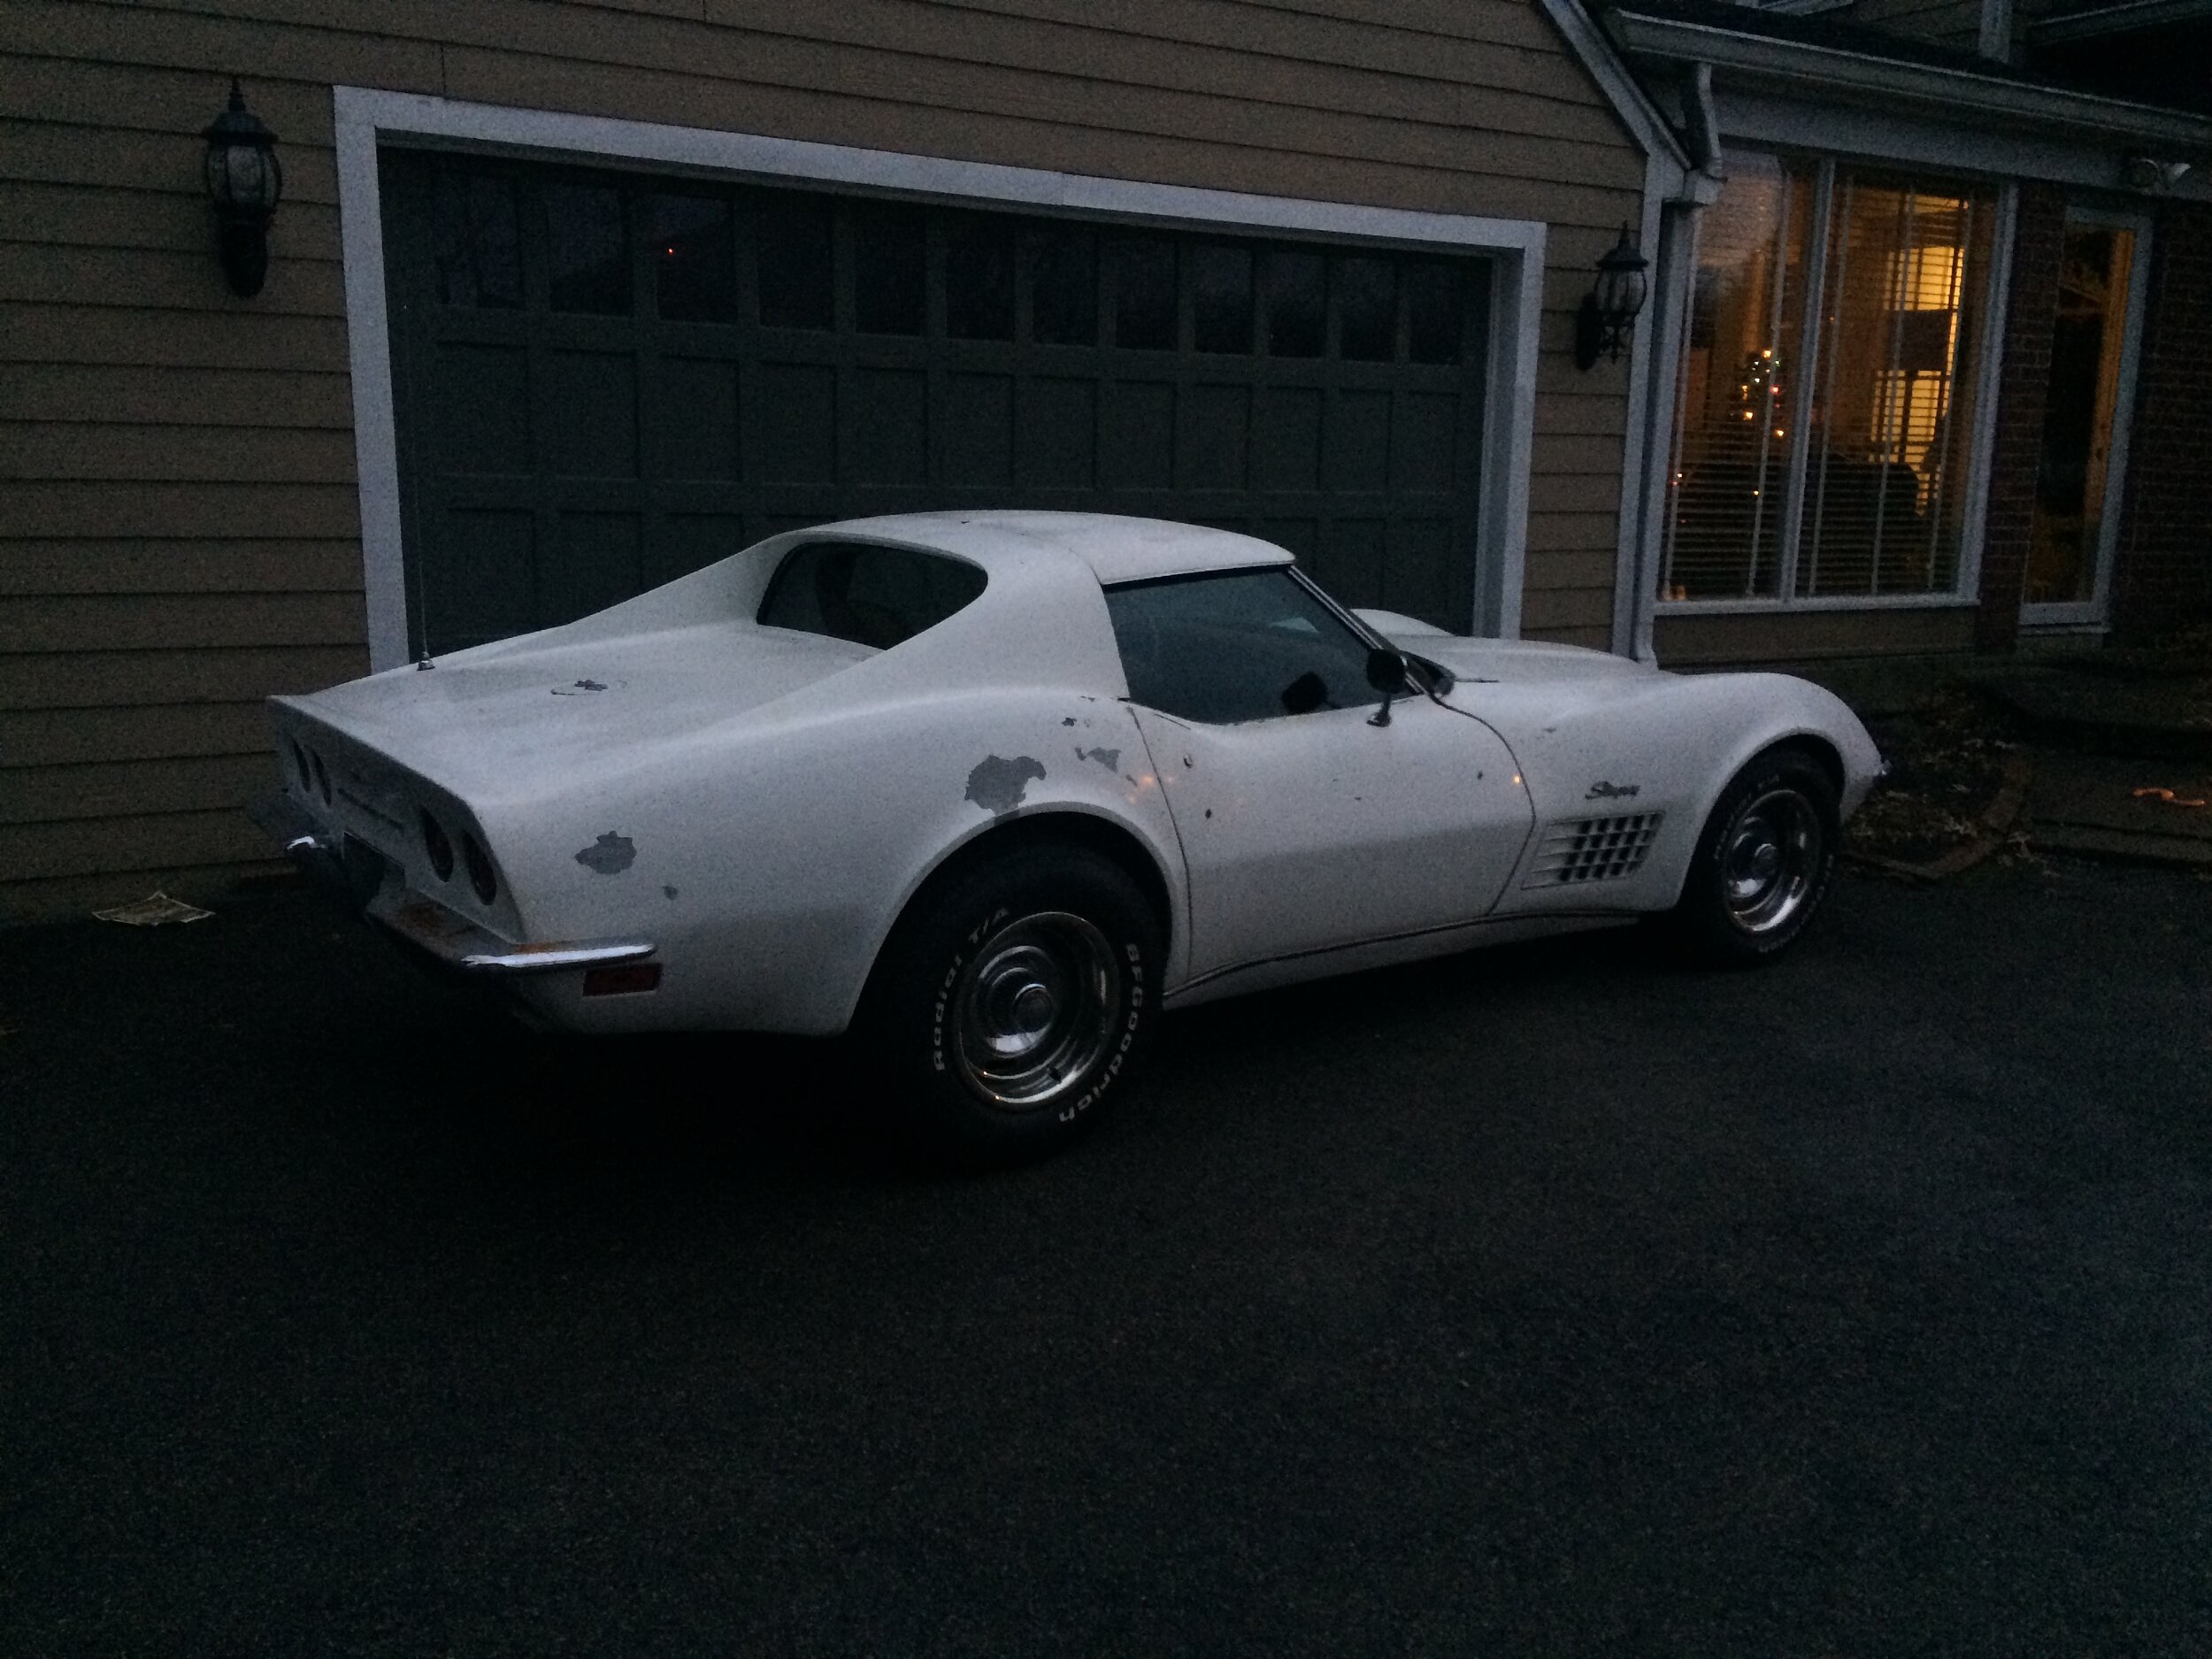
Ok, maybe not his line but we all know this to be true. I will go on record by saying that I knew this from the get go, but I love building cars as much as I like driving them so sue me. I will also say that I did not by any means build in the ideal order. My primary goal was to get the car on track asap and not have it drag on for years. By the way, the above picture is not the finished product, just the current state.
Starting the build… stock 1972 Corvette Base Coupe (automatic). After posting on the corvette forum looking for a project car, I was PM’d about this car located just over the border in Kentucky. That same week I grabbed some cash, a uhaul trailer, and my trusty sidekick Simon and we headed down to do some biz.
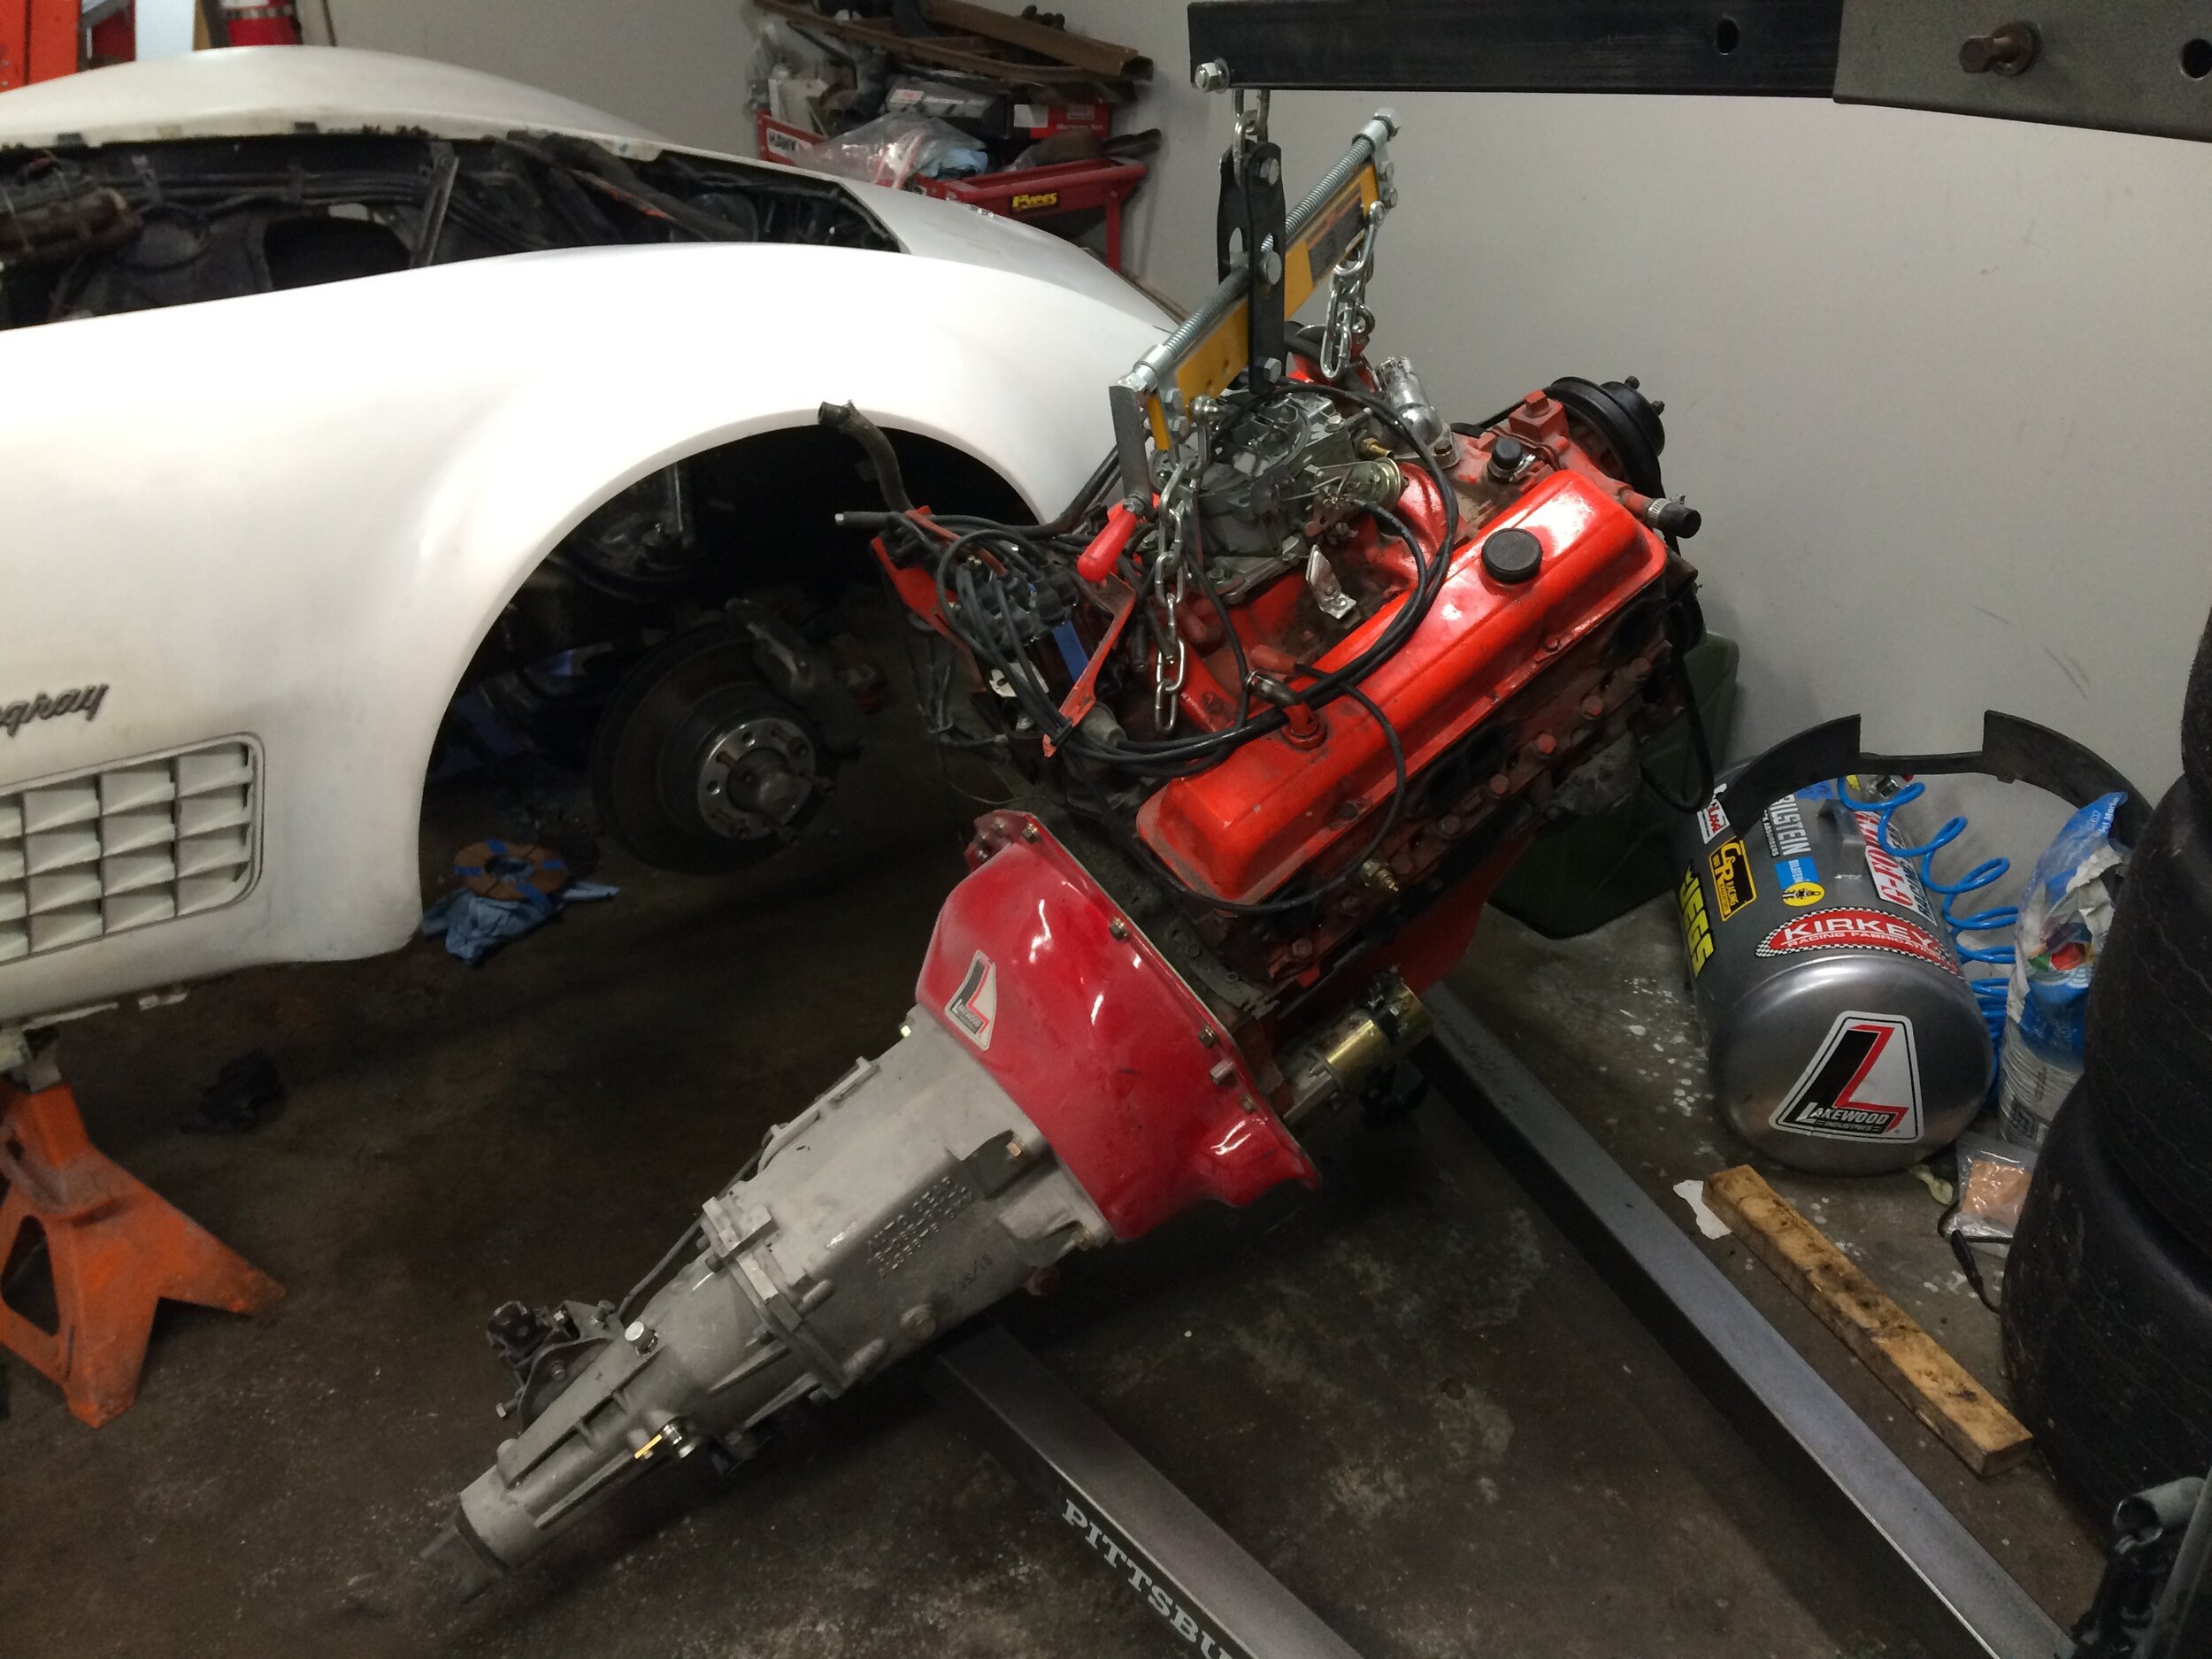
First order of business was to swap the turbo 400 for a proper 4 speed. In this case I decided on a custom Muncie M22 made by a company called AutoGear located in Syracuse, NY. Since I am always penny pinching, I opted to save a couple hundred bucks and assemble the gearbox myself (bearing grease is tricky to get out of carpet). Above is all of the parts shipped to my door including a custom gear set and a AutoGear “super case”. According to AutoGear, they redesigned the stock muncie case adding reinforcements to all know weak areas as well as adding some different sealing methods. Couple this with a new pedal box, explosion proof bell housing, clutch, and a hydraulic master and slave cylinder from and 80s pickup truck and boom, you got yourself a manual car. Removing and installing the pedal box was by far the biggest headache in this whole process due to the fact you have to get your head under the dash while your feet hang out of the top of the targa. I am currently about 6 or so trackdays in with no complaints though…
Sidepipes! I don’t think this section needs much explaining but look at slide 3 for some giggles.
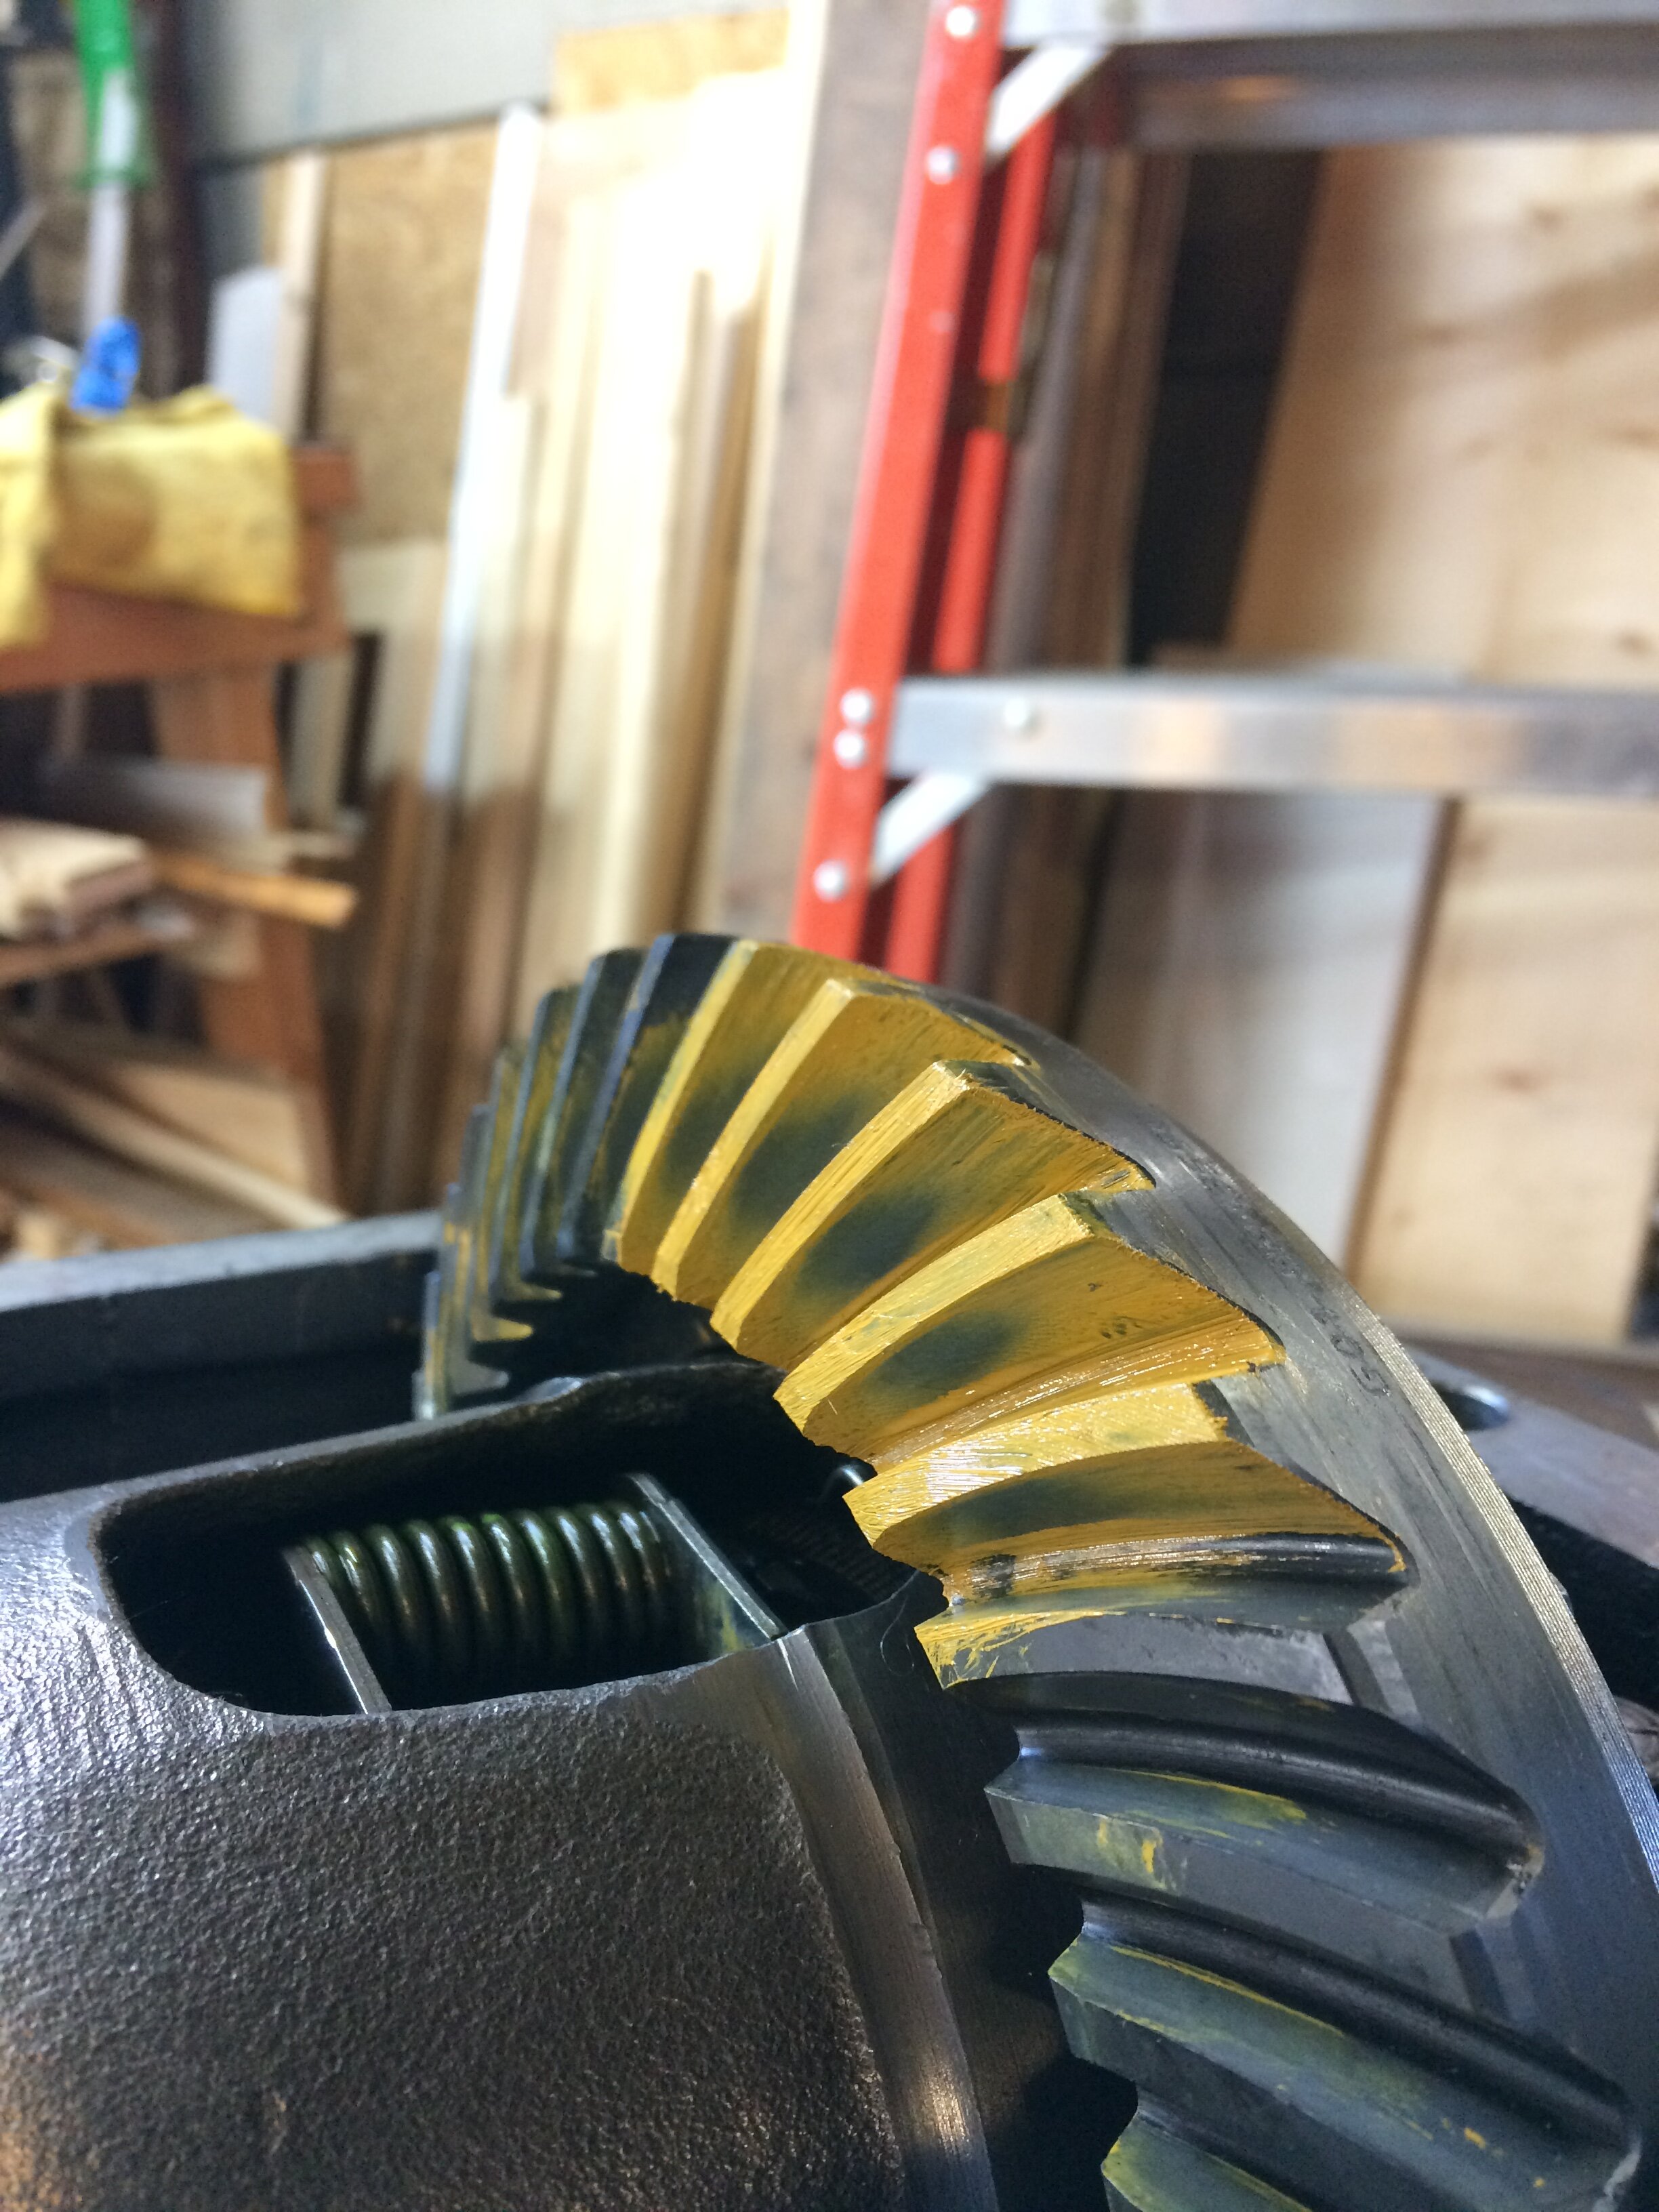
Stock 3.08 gear was changed out for 3.55 gear. I think during this time, I also replaced both rear hubs/bearings, rear springs and shocks, various bushings, brakes etc. It was kind of my time to do an assault on all of the mechanical systems now 45+ years old. At the time, I also opted for a Borgeson steering system which absolutely transformed the car. I think originally, it takes around 5.5 turns either way until lock, with this system, I think its about 3. The system also gets rid of the stock hydraulic cylinder and replaces it with gm delphi 600 steering box making for a more robust design.
New vintage racing tires, Hoosier Street TD’s. They are one of the few good tires allowed for vintage racing. They are technically a DOT tire however they carry the warning “for racing only” on the sidewalls. To fit the tires meant jumping up to 15x10 rims on the rear and 15x8.5 on the front (stock was 15x8 all around). You can see they stick out a bit…
Once you see the car with flares, seeing one without just looks off. Flares were purchased from ACI and are stated to be created from molds taken off an original L88 race car. The process was a bit intimidating at first given the large amount of cutting needed to fit them however the final results were totally worth it! The 70’-72’ cars do present a bit more of a challenge though given they had a bit more natural flare to the fenders then the previous 2 years cars and you can see I had to do a bit of work to blend the rear of the fender into the body. The flares were bonded to the car with 3M panel boding adhesive (08115) which proved to be very easy to work with when coupled with a special application gun and mixing nozzle. Once bonded, the joints were sanded and then skim coated with some body filler. Tires were purchased used from usedracetire.com with good success. They had only seen a practice or two and but still seemed to perform well. Maybe one day I’ll be able to afford a new set for comparison :).
Kirkey low back seats were fitted using custom made brackets. Since the first installation, both seats have been moved numerous times to optimize sight given the cars enormous hood. Also note the momo prototypo wheel with an NRG SRK-250BK quick disconnect. I was a bit leary of the quick disconnect since its doesn’t strike me as a true “racing” part however it seems to be holding up very well with no noticeable play after a fair amount of use. Gauges were all replaced with stewart warner gauges for a bit more vintage look. They are not as practical as larger race ones however I did later install a low oil pressure warning light as well as a super bright shift light.
Unfortunately the windshield was cracked when I purchased the car so it had to be replaced before the car would pass any kind of tech inspection. This wasn’t the most fun process but proved to be fairly straight forward. The only thing which later killed me a bit was not putting the roll cage in at the same time however I didn’t have a TIG welder at the time and it seemed like a far off venture (ended up being the following winter).
After running the car at 2 track days and 1 autocross, the stock motor was sounding and looking a bit worst for wear (just call her old smokey). It definitely had put up an admiral fight but I knew I was driving on borrowed time. To correct this, I did what any sane person does and took out a new credit card with 0% interest for 12 months and bought a new one! After weeks, maybe months of research on whether to self build, have a shop build, or buy a crate engine, that last option just made the most financial and practical sense. The parts alone were adding up to be about what a crate engine would cost and would still require time at a machine shop or engine builder. After more research on crate engine brands, I settled on a complete sbc from Blue Print Engines which so far has proven to be a great choice.
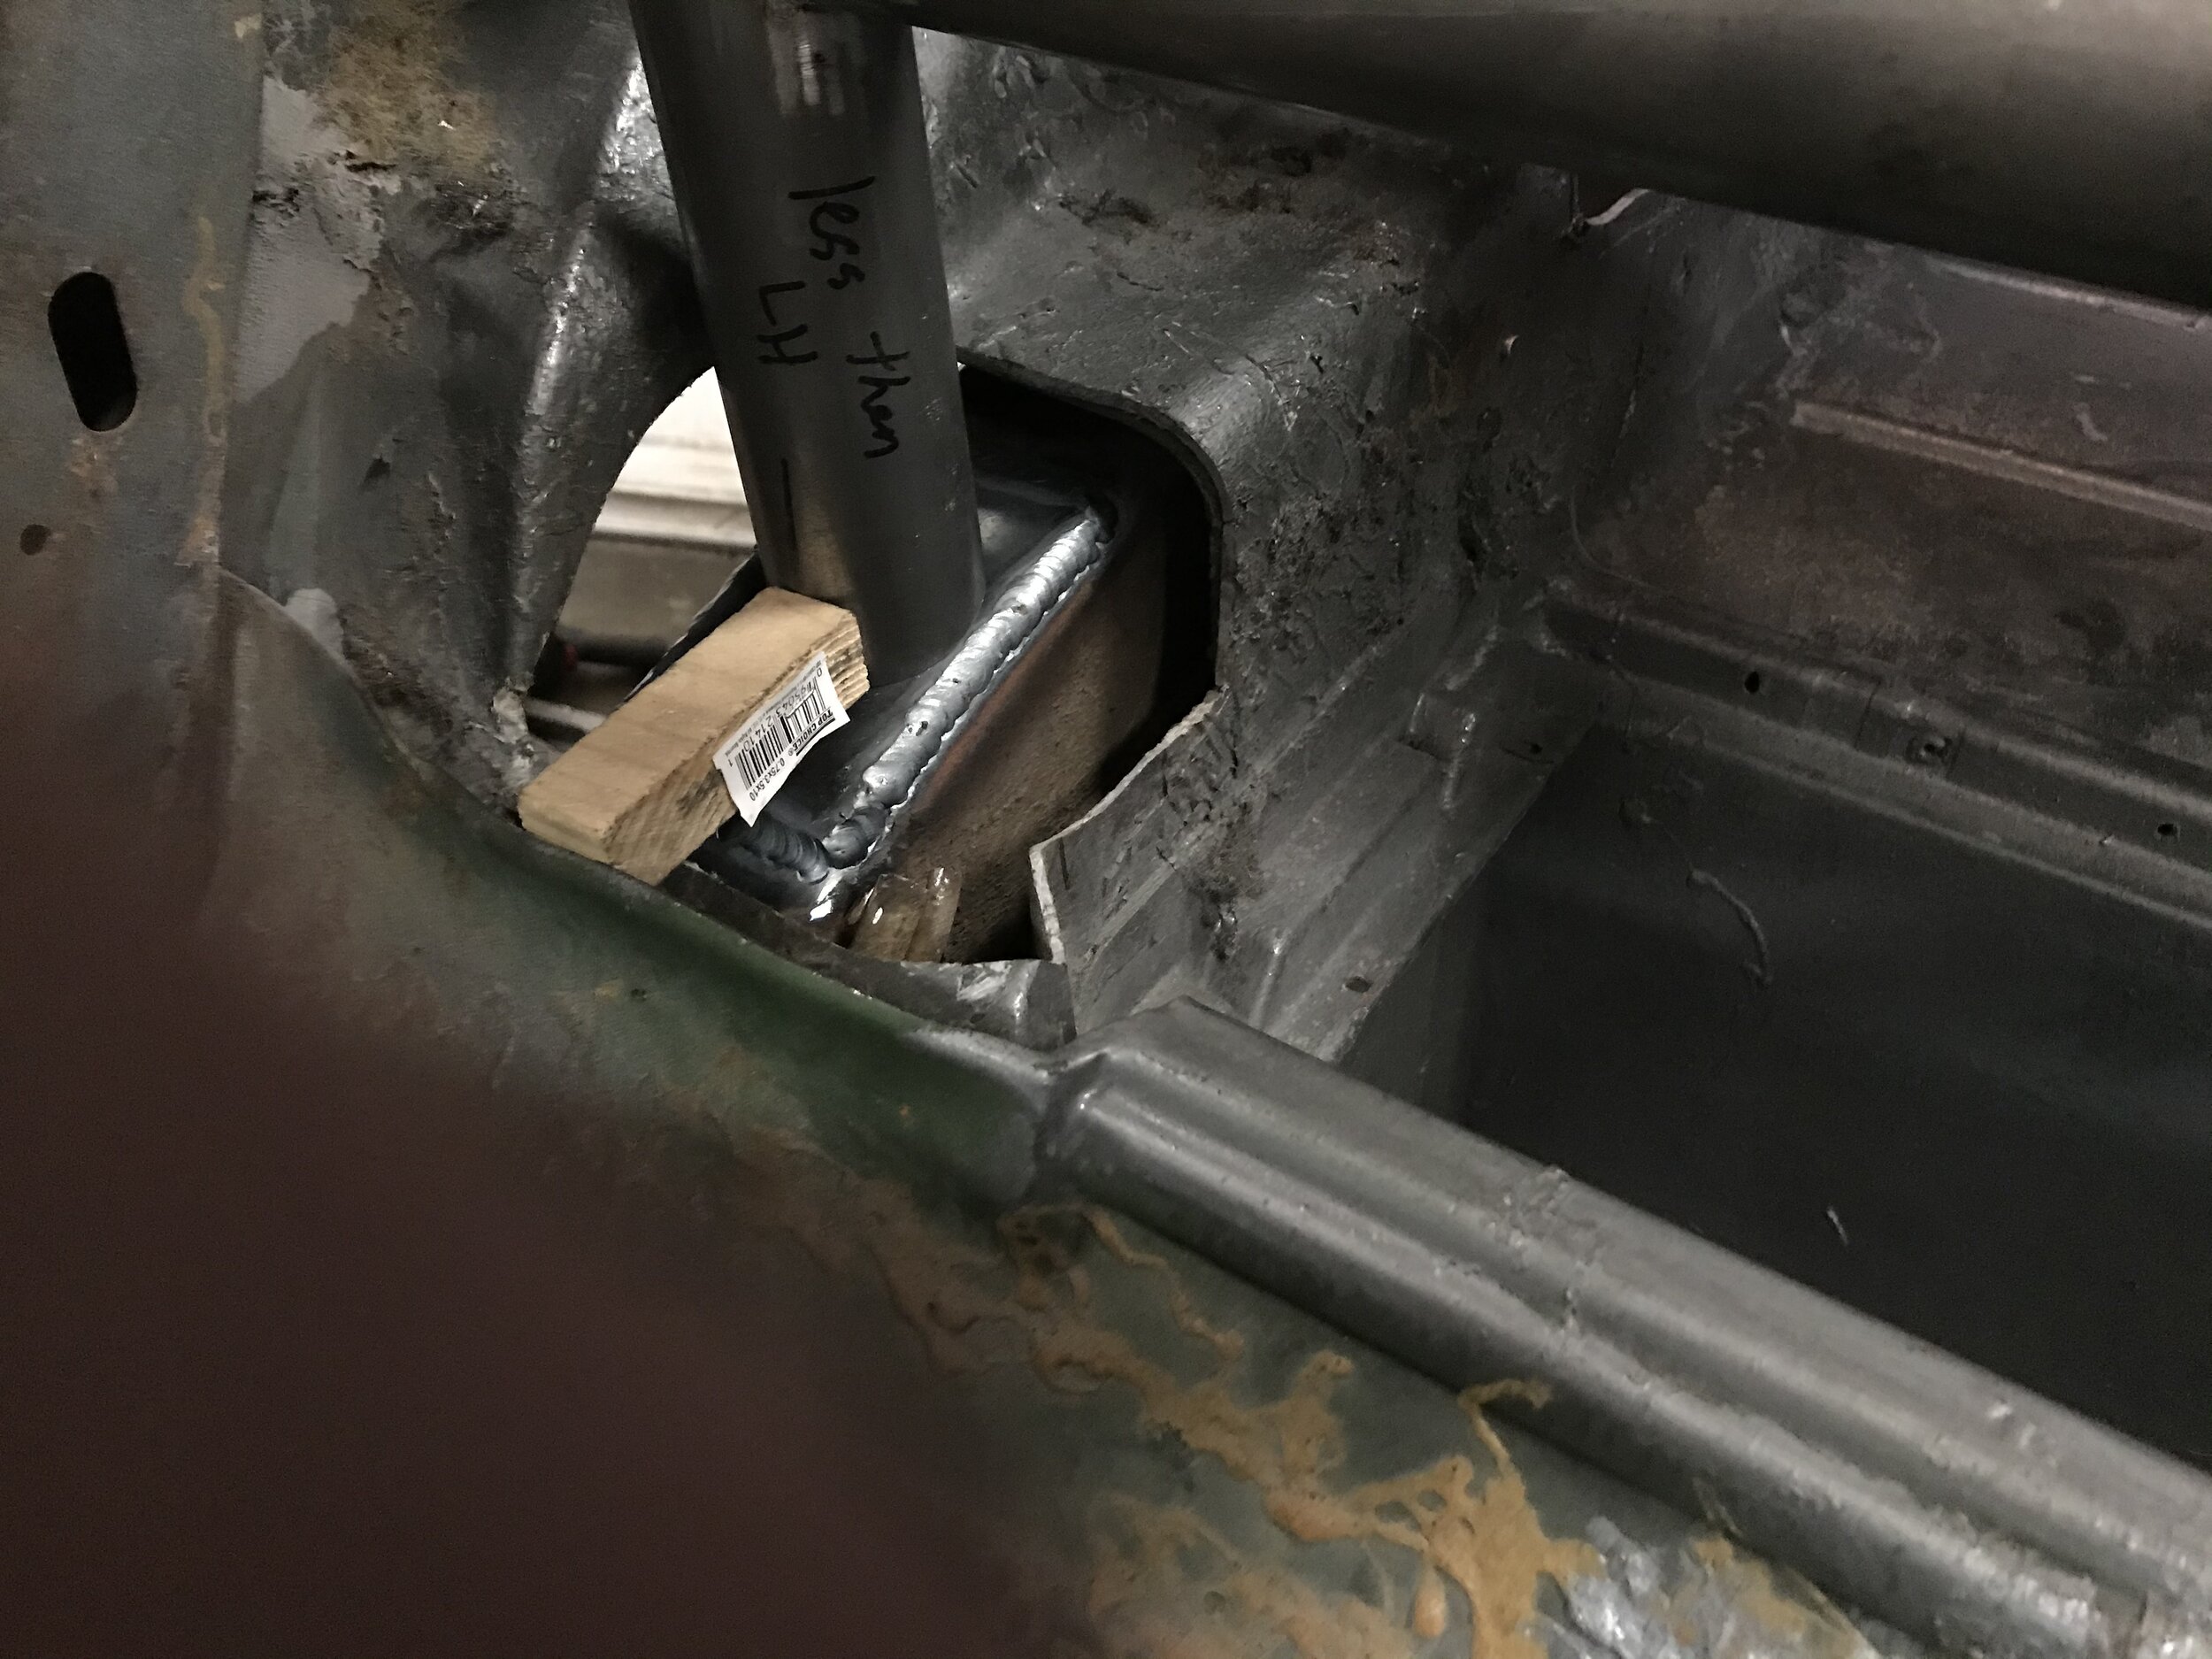
Roll Cage! This seemed to be the real point where I could start calling it a race car. Fortunately for me, my work was updating all of their tig welders which provided the opportunity for me to purchase one of the old ones. Although it weighs a bajillion pounds, it has proven to be one of the greatest tool buys I have made. The cage was purchased form S&W Racecars as a pre-bent kit however without throwing them under the bus too much, kit may have been a bit of an overstatement. Yes, all of the tube’s had been pre-notched however in the end, i didn’t end up using a single notch. I found out quickly that what I had gotten was a roll hoop which fit nicely after I had trimmed it to fit, a couple of bends, and a bunch of straight tubes. No worries though, you would be amazed at what you can do with nothing more then an angle grinder and a welder…. and boatload of time. Also to note, I had gotten a cheap harbor freight tubing notcher however I found out immediately it was 10 times faster just to do all notching with a flap wheel on my grinder. I also forgot to mention that I did get S&W to make me a new halo tube after realizing that I needed kick downs where it met the main hoop to give me another 3/4” of helmet clearance (basically miles). All in all, not a job for the timid but I’m glad I had gotten a decent amount of experience in college TIG welding to feel confident enough.
The fuel cell marked one of the last major safety items on my list and also carried the benefit of increasing tank volume (15 to 26), reducing sloshing with fuel foam, and reducing starvation due to the two internal pickups. The installation of this also was also combined with running new -8 braided PTFE fuel lines.


